The twins as you know started school last week. In the guidelines for the school they needed a draw string bag for library books. We did have something like that but it would be like all the other kids at the school. How would my little ones make sure that their bag was theirs, and instantly see it without taking another kids bag?
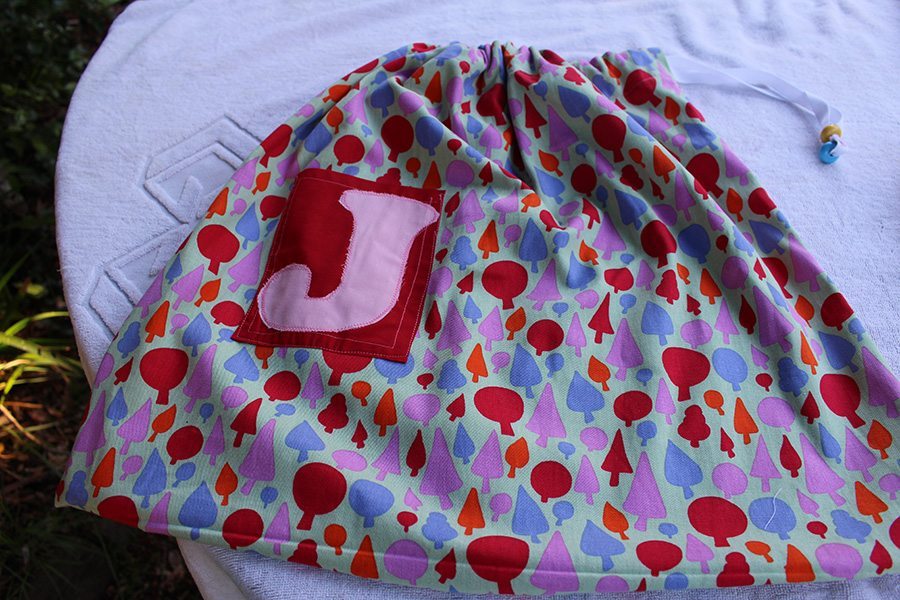
My tip was to have fabric that is bright and colourful and is unique to the girls bags only. If we had the same as the rest of the kids it would get mixed up. I chose a strong drill cotton fabric as it is going to be getting a workout with kids and especially the books that they put in it. See below for the fabric that I used.
9 Steps to make a Book Bag
Step 1: I measured a tote bag and then made it a little bigger height wise. I got a large book that the kids loved and used that as a guide. You don’t want to have it not fit larger books.
Step 2: I had a large piece of material and cut out each piece by leaving it joined together. This meant that I only had to sew the left and right edges and make the casing for the elastic. The bottom of the bag was already part of the material and did not need to be sewn.
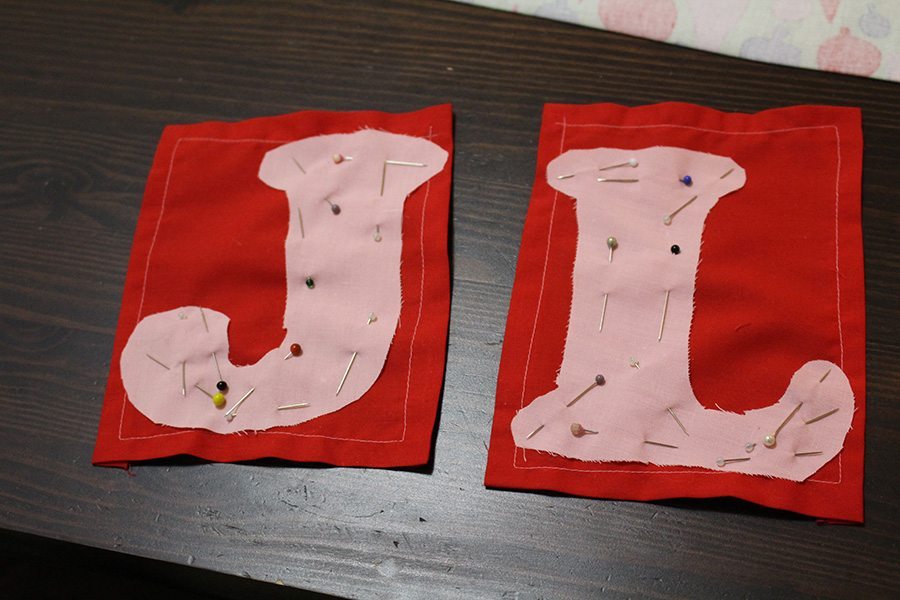
Step 3: Once I had each bag material organised, I then decided to make a pocket for each bag. On each pocket is each child’s initial. One has a J and the other has an L. This was used to so each child knows whose bag is which.
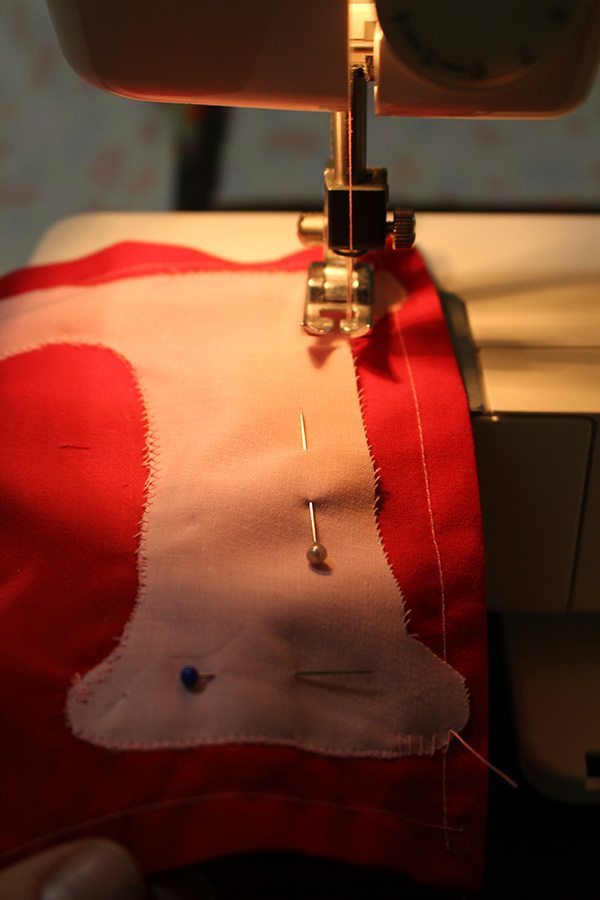
Step 4: Cut out the letters from your choice of fabric. Have the pockets or patch material squares or whatever shape you have chosen. Once you have the letters, pin them to the material and sew them together.
Step 5: Once you have your pockets ready to go, then pin them to the right side of the bag and attach now. If you wait to do when the bag is done it will not be as easy. Now you have the pockets or patches on the bag.
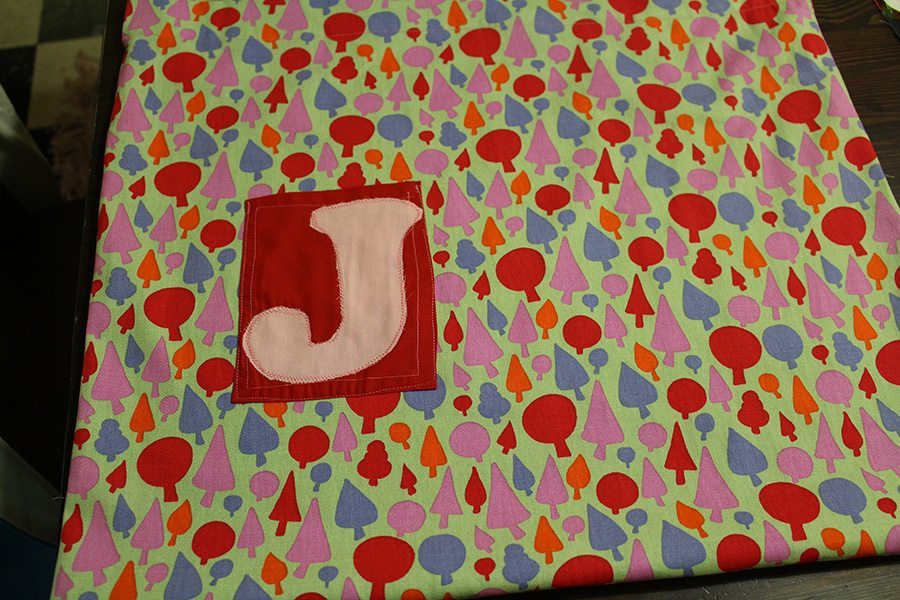
Pocket attached to the bag. You will also note that the material is joined on the bottom and the left and right sides still need to be sewn.
Step 6: Now you need to sew the left and right sides of the bag together. Don’t sew all the way up as we need to leave a gap so that we can make the casing. I stopped about 5cms or little bit more from the top of my bag.
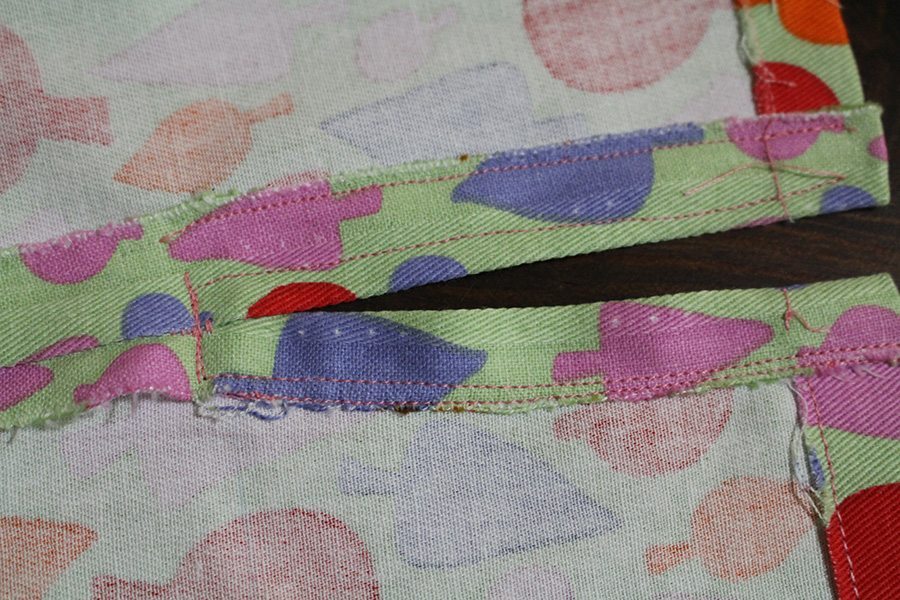
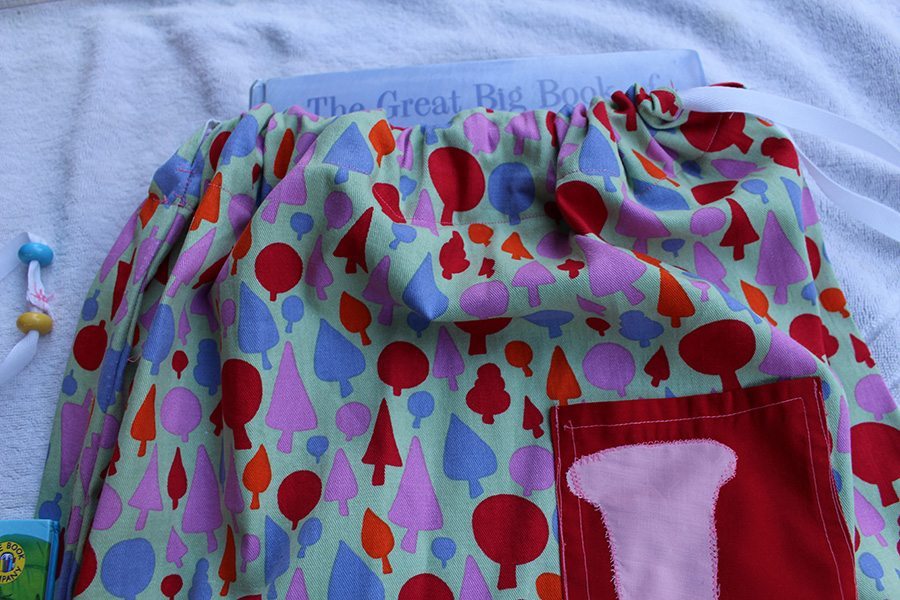
Step 7: Now fold down the sides and sew them. You can see this in the photo. Make sure you don’t close the opening as this is how the elastic goes in and out for each sides of tie.
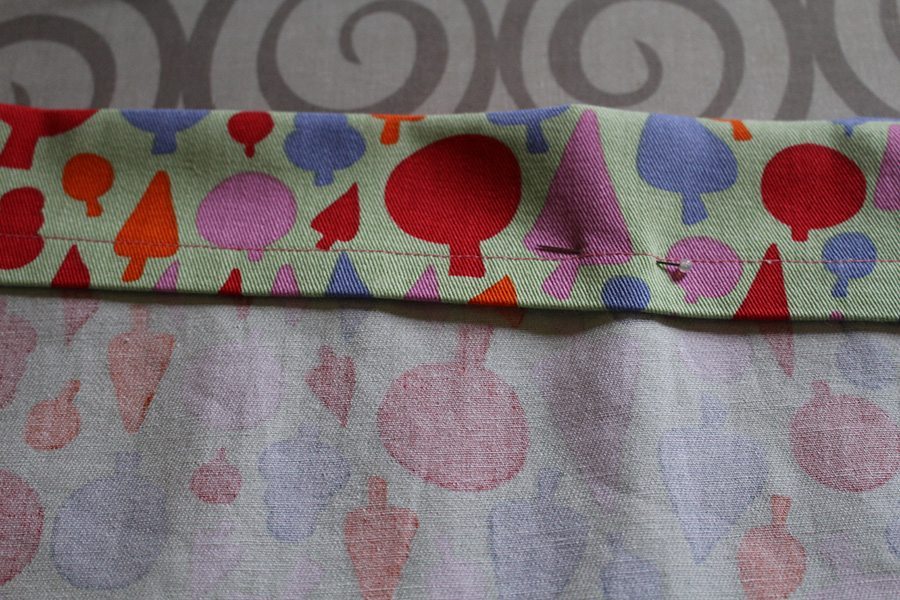
Step 8: Now you need to fold down the top to make the casing. Best to use an iron for this and other parts when you need to have it folded down and more accurate. Once you fold it down pin it and then sew around the edges, but make sure to leave the opening not sewn.

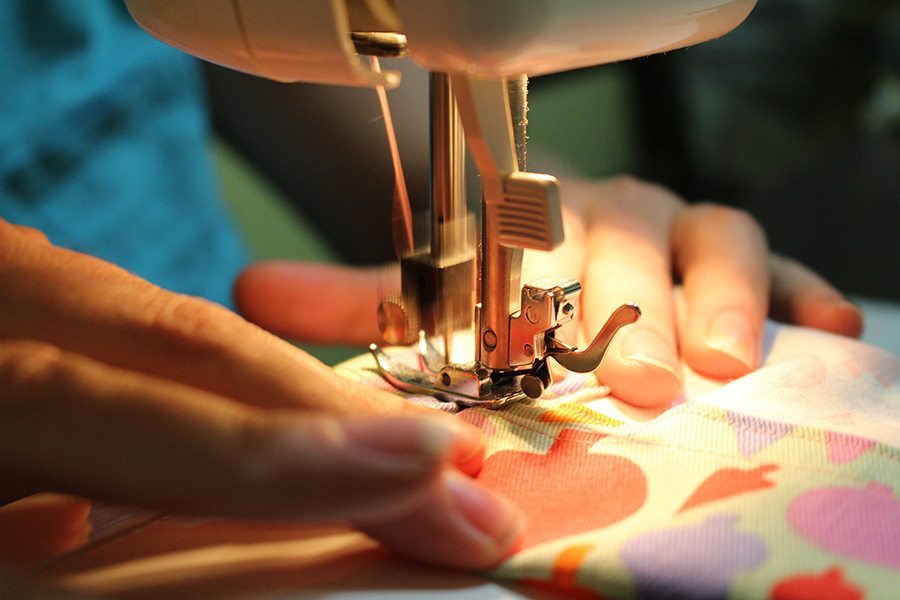
Sew around the edge to hold the top bit you folded over to be the casing. Make sure to join the gap so it holds but don’t sew it closed.
Step 9: Once you have sewn it all round the top of the casing, you now need to put the elastic in. I used one continuous elastic but you can have different things like ribbon. Why not have different ribbon on each side and add some beads? Nice decorative touch. I ended up sewing the ends of the elastic together so that it does not get lost in the bag. Before I did this I added some beads to make it have something extra.
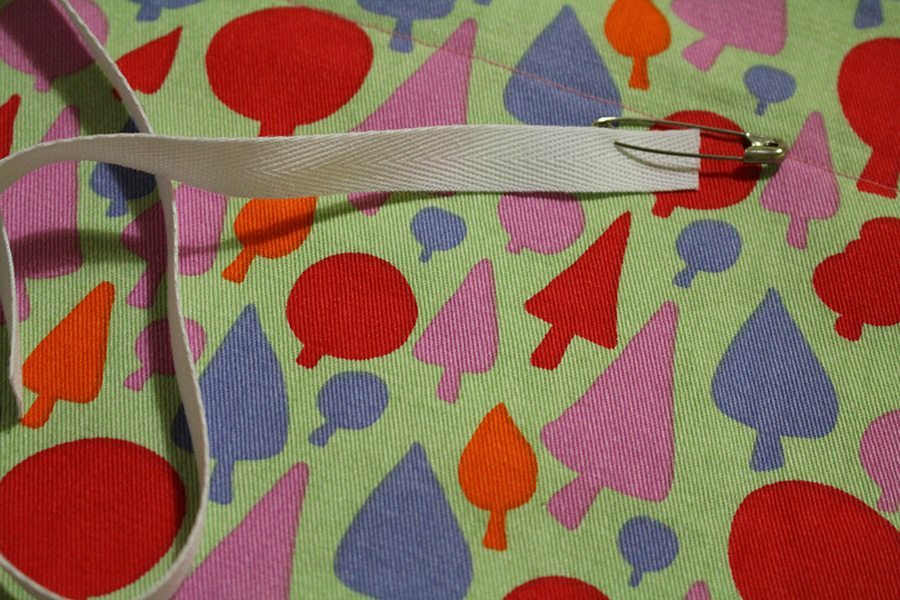
Make sure to attach a safety pin to your elastic. It makes it much easier to find and push through the casing.
So would you like to see the finished products?
These did not take long at all to do. I took a day and did some finishing touches in the evening. However, I think I will be quicker next time and be able to get it done in a matter of hours. So what do you think? I think they came out quite well and at least the twins have a book bag that they know is theirs and can look after the library books.
Let me know how your projects are going? Have you made something for school yet? Send in our comments.


